A campfire does more work than it gets credit for. It cooks food, dries wet gear, keeps mosquitoes at a distance, and turns a campsite into a place people actually want to sit after dark.
Building one that lights on the first try, burns steadily, and doesn’t become a safety problem takes a little more than piling sticks and flicking a lighter. Here’s how to do it right.
What You Need Before You Start
Every campfire needs 3 categories of fuel, and they’re not interchangeable.
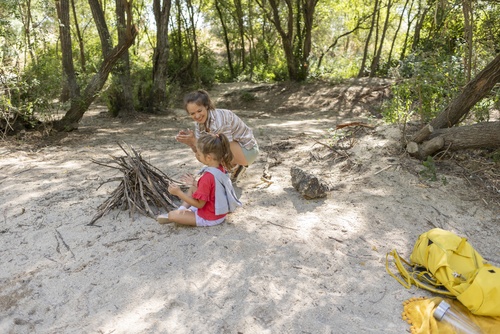
Tinder. The stuff that catches a spark and turns it into a flame. Dry leaves, dry grass, bark shavings, pine needles, wood shavings, or dryer lint. Tinder should be bone dry and small enough to ignite from a match or lighter in seconds. A loose handful about the size of a softball is usually enough.
Kindling. Small sticks and twigs, roughly pencil-thickness to thumb-thickness. Kindling catches fire from the tinder and burns hot enough to ignite your larger fuel wood. Gather more than you think you’ll need. The most common campfire failure is running out of kindling before the fuel wood catches.
Fuel wood. Logs and larger branches, wrist-thickness and up. This is what sustains the fire once it’s established. Dead, dry wood from the ground works. Standing dead wood (still upright but clearly dead) is often drier than what’s on the forest floor. Green or recently living wood resists burning and produces excessive smoke. If a branch snaps cleanly, it’s dry enough. If it bends, it’s too green.
One note on sourcing: many campgrounds sell firewood bundles on-site or nearby. This exists for a reason. Transporting firewood from home can spread invasive insects like the emerald ash borer, which has devastated ash tree populations across the eastern U.S. Buy local wood or gather dead wood on-site where permitted.
Where to Build Your Fire
At an established campground: Use the fire ring or fire pit provided. Building fires outside designated rings is against policy at most campgrounds, and for good reason. The rings are positioned away from trees, structures, and dry brush, with cleared ground underneath.
At a primitive or dispersed campsite: You’ll need to build your own fire bed. Follow Leave No Trace principles for campfires: find a flat, open area at least 10 feet from any tent, tree, or overhanging branch. Exposed dirt or gravel is ideal. If the ground is covered in grass or dry duff, scrape it down to bare mineral soil in a circle about 3 feet across. You can ring the cleared area with fist-sized rocks for containment, but leave small gaps between stones so air can circulate.
Check the wind. A sheltered spot (behind a boulder, in a natural depression) keeps your fire from scattering sparks. A windy ridgeline does the opposite.
Before you light anything: Check whether fire restrictions are in effect. Dry conditions trigger burn bans across the western U.S. regularly from June through October. Your campground host, the local ranger station, or a quick search for “[county name] fire restrictions” will tell you. If there’s a ban, there’s a ban. No exceptions.
4 Ways to Build a Campfire
Different fire structures burn differently. The right choice depends on what you need the fire to do.
The Teepee Fire
Best for: Quick warmth, boiling water, a fast evening fire.
Place your tinder bundle in the center of the fire ring. Lean kindling sticks against each other around the tinder, forming a cone shape (like a teepee). Leave a gap on the windward side so you can reach in and light the tinder. As the kindling catches, add progressively larger sticks in the same leaning pattern.
The teepee burns hot and fast because the flame climbs upward through the cone, igniting each layer as it goes. The tradeoff is consumption speed. A teepee fire eats wood quickly and needs regular feeding. It’s the best structure for getting a fire going from scratch, but it’s not the one you want if you’re settling in for a 3-hour evening.
The Log Cabin Fire
Best for: Cooking, sustained heat, long evenings.
Start with a small teepee of tinder and kindling in the center. Then build a square frame around it: lay 2 parallel logs on either side of the teepee, then stack 2 more logs perpendicular on top. Continue stacking alternating layers, leaving space between logs for airflow. The structure looks like a miniature log cabin.
The log cabin burns more slowly and evenly than the teepee because the stacked structure controls airflow and collapses inward as it burns, feeding itself. When it burns down, it produces a flat bed of coals, which is exactly what you want for cooking. If you’re grilling over the fire or using a camp grate, build a log cabin.
The Upside-Down Fire (Pyramid)
Best for: Long burn time, minimal maintenance, cooking coals.
This one seems counterintuitive. Place your largest logs on the bottom of the fire ring, side by side. Stack a second layer of slightly smaller logs perpendicular on top. Continue building upward with progressively smaller wood, finishing with kindling and a tinder bundle on the very top.
Light the tinder on top. The fire burns downward through each layer, and as the upper layers collapse, they feed the lower ones. The result is a fire that can burn for hours with almost no attention. The downward burn also creates a deep coal bed underneath, which makes this the best structure for dutch oven cooking or anything that needs consistent, radiant heat.
The catch: it takes the most setup time and the most wood upfront. Build it when you’re planning to stay put.
The Lean-To Fire
Best for: Windy conditions, quick starts in bad weather.
Push a thick green stick into the ground at a 30-degree angle, with the end pointing into the wind. Place your tinder bundle under the leaning stick. Lean kindling against the stick on the downwind side, creating a wall that shields the tinder from the breeze.
The lean-to structure protects the flame while it’s most vulnerable (the first 2 to 3 minutes) and feeds naturally as the kindling catches. Once the fire is established, you can build it out into a wider structure. It’s the best starting configuration when conditions aren’t cooperating.
Here is a great video on the subject of campfire builds and layouts:
How to Light a Campfire
The standard approach: hold a long lighter or strike-anywhere match to the tinder bundle at the base of your structure. Light it from the windward side so the breeze pushes the flame into the tinder rather than away from it.
If the tinder catches but the kindling doesn’t ignite, blow gently at the base. Steady, controlled breaths. You’re adding oxygen, not hurricane force. The flame should visibly respond. If it dies instead, your kindling is either too thick, too damp, or packed too tightly (no airflow).
If you don’t have a lighter: Ferrocerium rods (fire steels) throw sparks at 3,000F and work when wet. Scrape the rod with the spine of a knife, directing sparks into dry tinder. It takes practice, but it’s the most reliable backup ignition method. Flint and steel, magnifying lenses, and bow drills all work in theory, but a $5 ferro rod outperforms all of them in real camping conditions.
How to Maintain a Campfire
A fire that’s burning well needs 2 things: fuel and air.
Add fuel wood gradually. Dropping a massive log onto a small fire smothers it. Lay new wood across the existing coals at an angle so air can circulate underneath. When the fire starts producing more smoke than flame, it’s either running out of fuel or being suffocated by ash buildup. Use a stick to shift the coals and open up airflow at the base.
The coal bed is where most of the heat comes from, not the visible flames. A thick bed of glowing coals with small flames licking across the surface is a mature fire. That’s what you want for cooking, for warmth, and for a fire that won’t go out the moment you stop feeding it sticks.

How Hot Does a Campfire Get?
A well-established campfire burns at roughly 900 to 1,100F in the flame zone. The coal bed underneath can reach 1,500 to 2,000F. For context: aluminum melts at 1,220F. A campfire’s coal bed can and will destroy a dropped aluminum pot if you’re not paying attention.
The heat radiates outward in a rough dome shape. At 3 feet from the fire, you’ll feel comfortable warmth. At 1 foot, exposed skin starts to feel it. This matters for tent placement. Keep tents and tarps at least 10 feet from the fire, further if conditions are dry or windy. Synthetic fabrics (nylon, polyester) melt from radiant heat well before they contact flame.
Campfire vs. Bonfire: What’s the Difference?
Scale and purpose. A campfire is a personal or small-group fire built in a contained ring for warmth, cooking, or atmosphere. A bonfire is a large, open fire built for gatherings, celebrations, or land clearing.
Most campgrounds allow campfires in designated rings. Most campgrounds do not allow bonfires. The distinction matters because building a fire larger than the provided ring can accommodate creates a fire that’s harder to control and throws sparks further than the cleared area accounts for.
How to Put Out a Campfire
This is the part that matters most, and it’s where most campfire-related damage starts.
Step 1: Let it burn down. Stop adding fuel at least 30 minutes before you plan to leave or sleep. Let the fire reduce to coals.
Step 2: Drown it. Pour water over the entire fire bed, not just the visible coals. Pour slowly and listen for the hissing to stop. If it’s still hissing, there are still hot spots.
Step 3: Stir. Use a stick or shovel to turn over the coals and ash, exposing anything still smoldering underneath. Pour more water.
Step 4: Touch test. Hold the back of your hand near (not on) the ash bed. If you feel any heat at all, it’s not out. Repeat steps 2 and 3.
Step 5: Check the perimeter. Look for stray embers that may have landed outside the ring, especially in dry grass or duff.
If you don’t have water, mineral soil (dirt without organic material) can be used to smother the coals. But water is better. Carry enough to drown your fire, every time.
The rule is simple: if it’s too hot to touch, it’s too hot to leave.
Campfire FAQ
Can you put a fire pit on grass? You can, but protect the ground underneath. A fireproof mat or a layer of sand/gravel prevents heat from killing the grass and roots below. Check with your campground first. Many have specific rules about fire pit placement.
What wood burns the longest? Dense hardwoods: oak, hickory, maple, and madrone. Softwoods like pine and cedar burn hot but fast, producing more sparks. If you’re buying a bundle at a campground, ask what species it is. The price is usually the same, but the burn time isn’t.
Can you cook directly over a campfire? Yes, but wait for coals. Cooking over open flame produces uneven heat and soot. A bed of coals from a log cabin or upside-down fire gives you consistent, controllable heat. A camp grate set 4 to 6 inches above the coals works like a stovetop.
What do you do if a campfire gets out of control? If the fire is still contained to the ring but burning too aggressively, stop adding fuel and let it burn down. If fire escapes the ring, use water, dirt, or a shovel to smother the edge. If it’s spreading beyond what you can handle, evacuate and call 911. Campground hosts and rangers can deploy suppression resources quickly. The cost of calling for help is zero. The cost of hesitating isn’t.
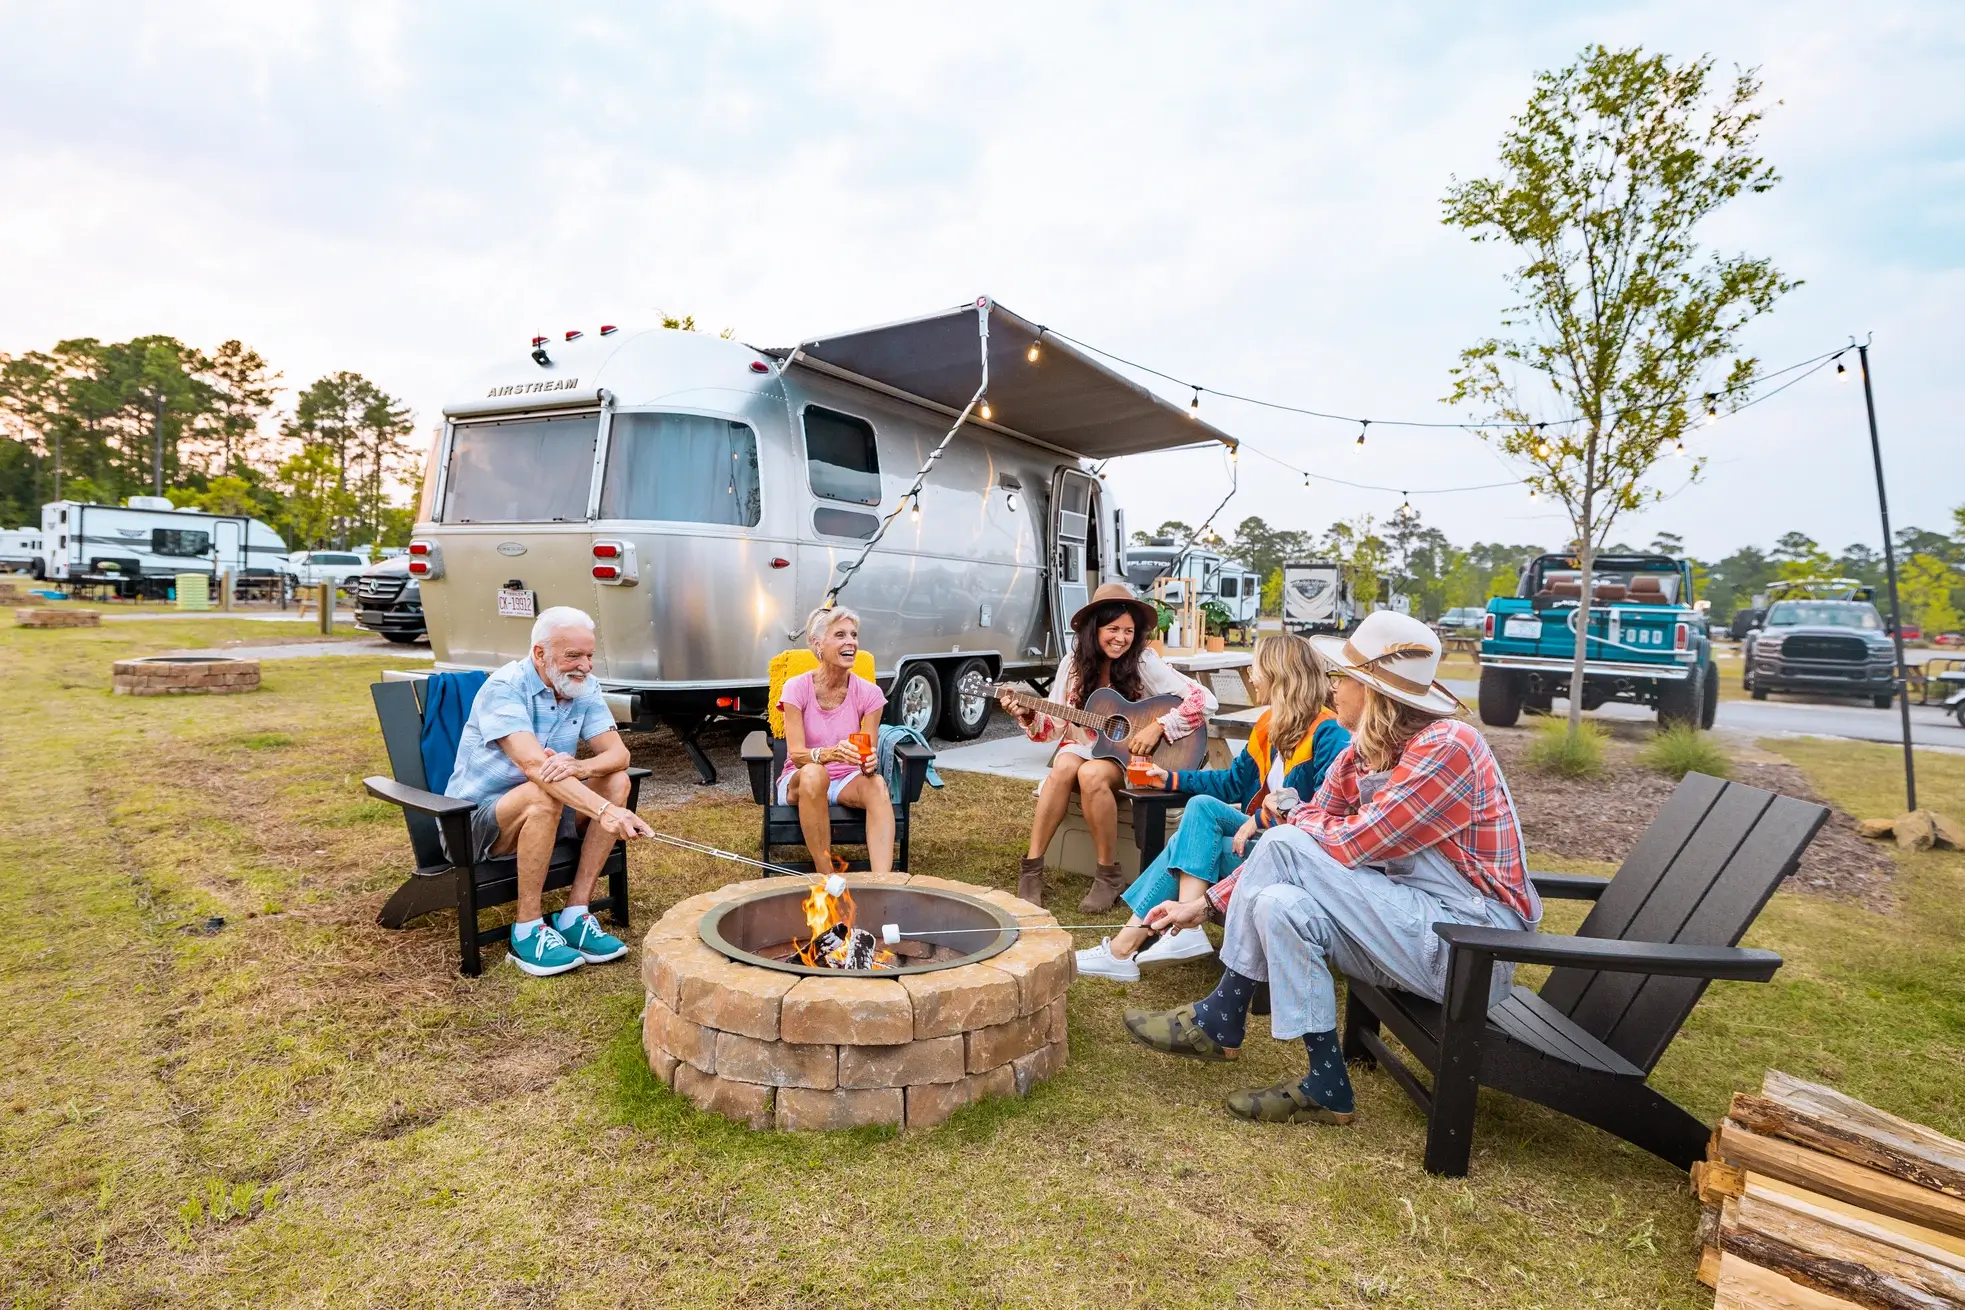
Build Your Fire at an RJourney Park
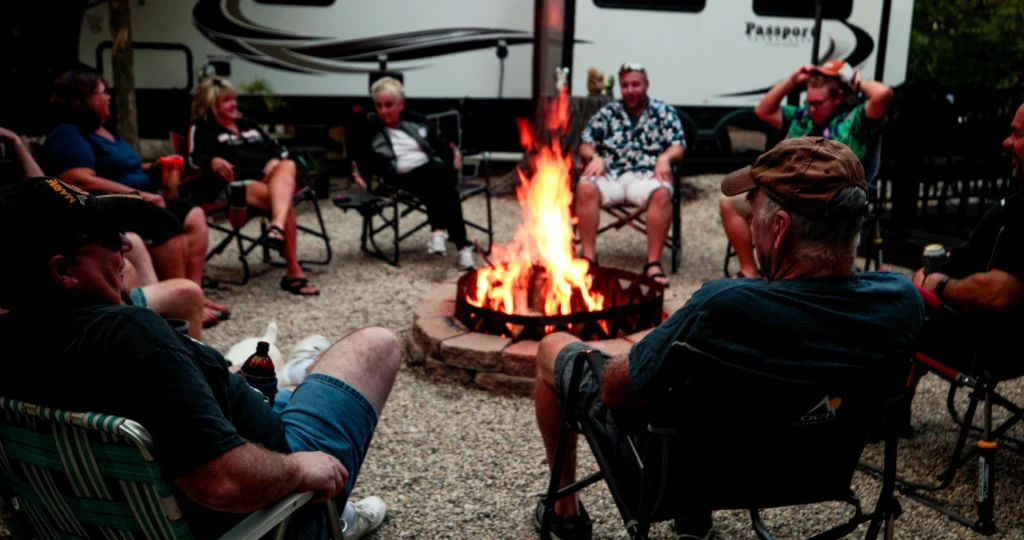
Every RJourney campground has designated fire rings, and most sell firewood on-site or nearby. The rings are cleared, the ground is prepped, and the infrastructure is already in place for a safe, easy campfire.
Check availability at a park near you and plan an evening around the fire. The marshmallows are your responsibility. The fire ring is ours.