Dewinterizing Your RV in Time for Spring Travel

The cold months are (finally) on the way out, and you’re counting the days until you can unearth your beloved RV for the first road trip or camping excursion of the year. You have the plans all drawn up, now it’s just a matter of returning your RV to working order. That means dewinterizing your RV and taking some time to perform some essential RV maintenance.
At Rjourney, we’re excited to see you at one of our RV Resort Parks throughout the country. But before you make the trek to visit us, we want to help you get on your way with as little muss and fuss as possible. We’ll help you dewinterize an RV, especially if you’ve never done it before, and offer a simple RV maintenance checklist you can refer to the whole way through the process.
How to Dewinterize an RV
Before we jump into how you should dewinterize your RV, first let’s talk about the timeline. To properly dewinterize your RV, you’ll want to start the process at least RV 3-4 weeks prior to whenever your first big trip is going to be. So if you intend to take it out camping in June, you’re going to want to run through the checklist in early May, if not sooner.
RV Maintenance Checklist
Some things are subject to change depending on the exact model of RV, but most of these dewinterizing tips apply to most RVs:
Tend to the Exterior
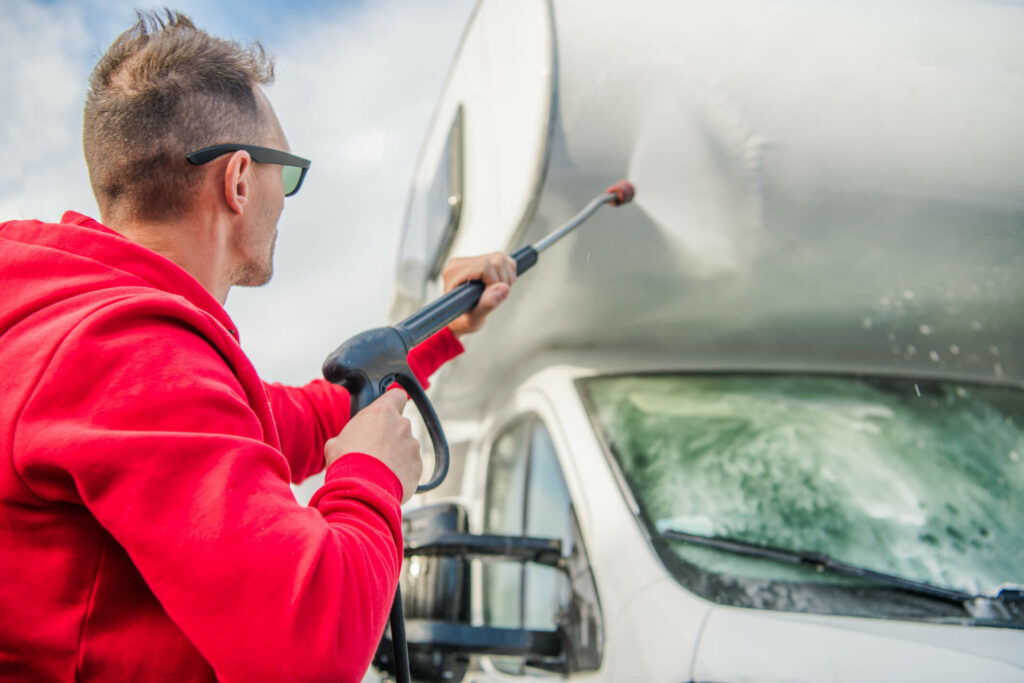
Before looking at any of its inner workings, make sure all the external devices and apparatus are fully operational. These include checking all lights, examining the vehicle for rust (especially along the bottom of the fame and around the wheel wells), checking the seams of your slides and sealing them up where needed, replacing any bad caulking, investigating the roof for water damage, and opening your RV’s awnings to breathe for a little while. Don’t forget to top off your exterior inspection with a good powerwash.

While we’re on the subject of the exterior, don’t neglect the tires. They’ve been sitting unused for some time and will need some love. Inflate them to the manufacturer’s recommendation, examine them for uneven wear, and give the beast a test run before the big day just to make sure nothing is wrong that you can’t see with the naked eye.
Reinstall the Batteries
When winterizing your vehicle, you should have taken your batteries out of your vehicle and connected them to a battery maintainer while it’s been in storage. Having a battery maintainer will ensure that your RV battery stays charged throughout the offseason. If you don’t have a maintainer to hook your charger up to, never fear you shouldn’t have any problems getting your battery up and running with these steps:
First, make sure your RV isn’t connected to a power source before reinstalling your battery. Then use a voltmeter to gauge the battery’s power level and attach the battery charger cables to the battery. Allow your power source to charge the battery to full (you’ll want to attach the cables BEFORE turning the power source on). Check the battery’s water level and fill to the correct level, which should be labeled. Disconnect the battery from the power source and reinstall it into the vehicle.
Replace Your Water
Any leftover water in those pipes has been sitting for a while now, and should still have the antifreeze you put in it before winter started. Since antifreeze isn’t safe to drink, all that water has to go.
Drain your freshwater holding tank to make room for clean, drinkable water. Then, turn on your water pump, every water faucet (one at a time), flush the toilet multiple times, and allow the water to run for 5-10 minutes so you know all the old water has been flushed from the system.
Complete a pressure test to check for leaks, replace your water filters, and dump your (probably gray and black) water tanks. You’ll also want to run some diluted bleach through the system to sanitize everything, in case some bacteria or mold had a chance to build up over the off-season.
Make Sure There’s No Propane Leak
Almost there! Our last piece of RV maintenance advice is addressing the propane. If you have a leak, you run the risk of running out halfway through a trip!
First, shut down all the propane-related appliances, like your stove/oven, and then open the propane valves and see if you can detect a foul odor. If not, proceed to run soapy water or a leak detector over the valve to check for any compromises. If bubbles start to materialize when you open the valve, that’s when you know you’ve sprung a leak. Repairs will likely need to be professionally done, so hopefully, you don’t run into this problem (but if you DO find a leak, don’t ignore it!).
Let Rjourney Help You on Your Journey!
With the RV maintenance checklist all wrapped up and your RV dewinterizing procedures complete, it’s time to talk about the fun part: campgrounds!
Rjourney prides itself in offering premier camping opportunities, with campgrounds equipped with a wide variety of on-site activities and nearby attractions. From RV sites to cabins that provide all the modern comforts of home, we have plenty of lodging accommodations available because we know that not everyone wants to “rough it” when on their outdoor adventures. Have questions about our campgrounds or policies or need to make a reservation at one of our parks? Give us a call; a staff member is happy to take your call!